OUR MANUFACTURING PROCESS
How Edible Gold Leaf is Made
If you’ve ever been interested in how gold leaf is made, the manufacturing process of edible gold leaf sheets, as well as edible silver leaf sheets, here you can get an in depth look at the manufacturing process we at CornucAupia Gold Leaf Manufacturing, Inc. use when creating our products.
Step 1: Enter the Workshop to Learn How Edible Gold Leaf is Made
To learn how edible gold leaf is made, we enter our workshop, and begin the process of creating 24K Edible Gold Leaf, Pure Edible Silver Leaf, 24K Gold Leaf for Cosmetics of Pharmaceuticals, or Gold and Silver Leaf for Gilding.
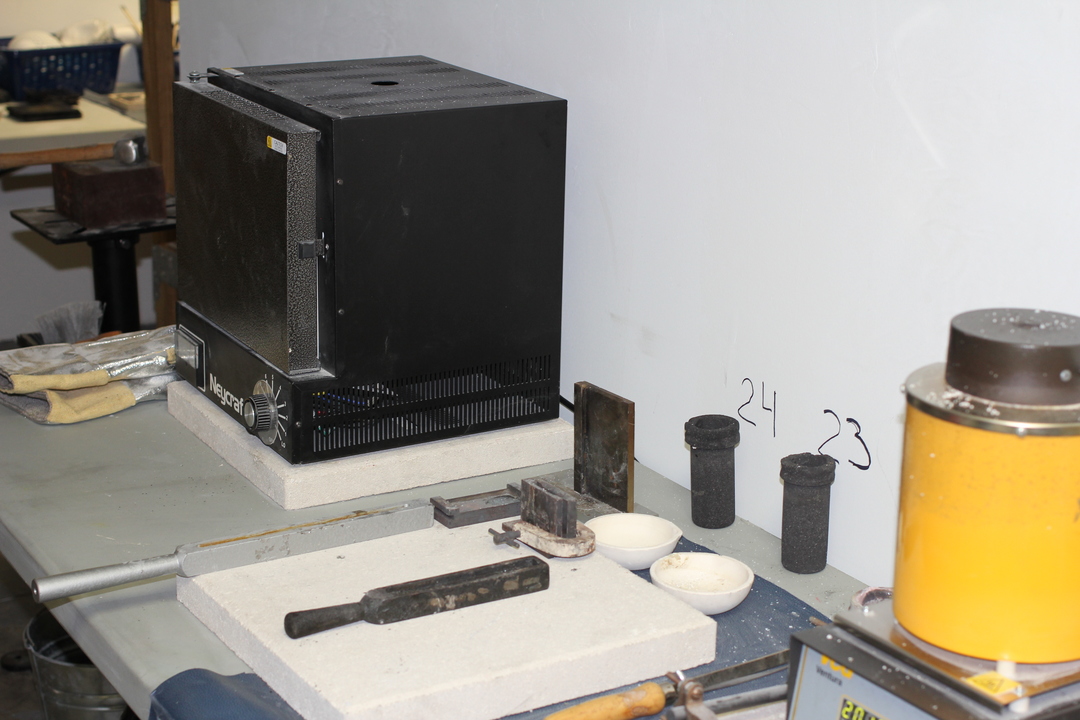
Step 2: Preparation Begins
All of the tools necessary are prepared for the melting process. These are standard pieces of equipment used for melting precious metals.
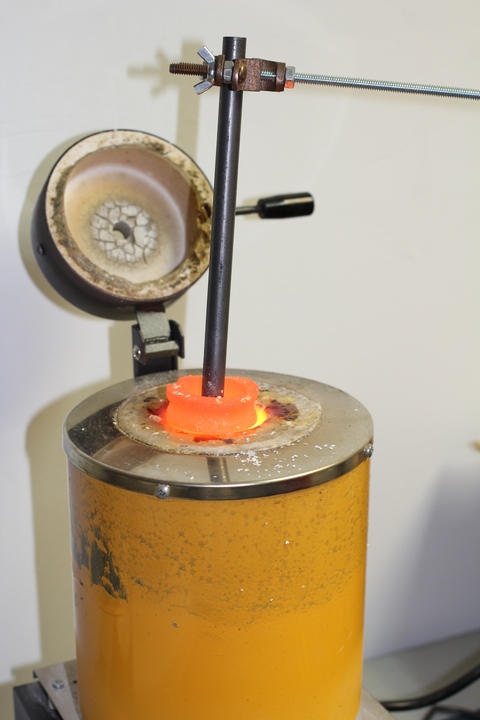
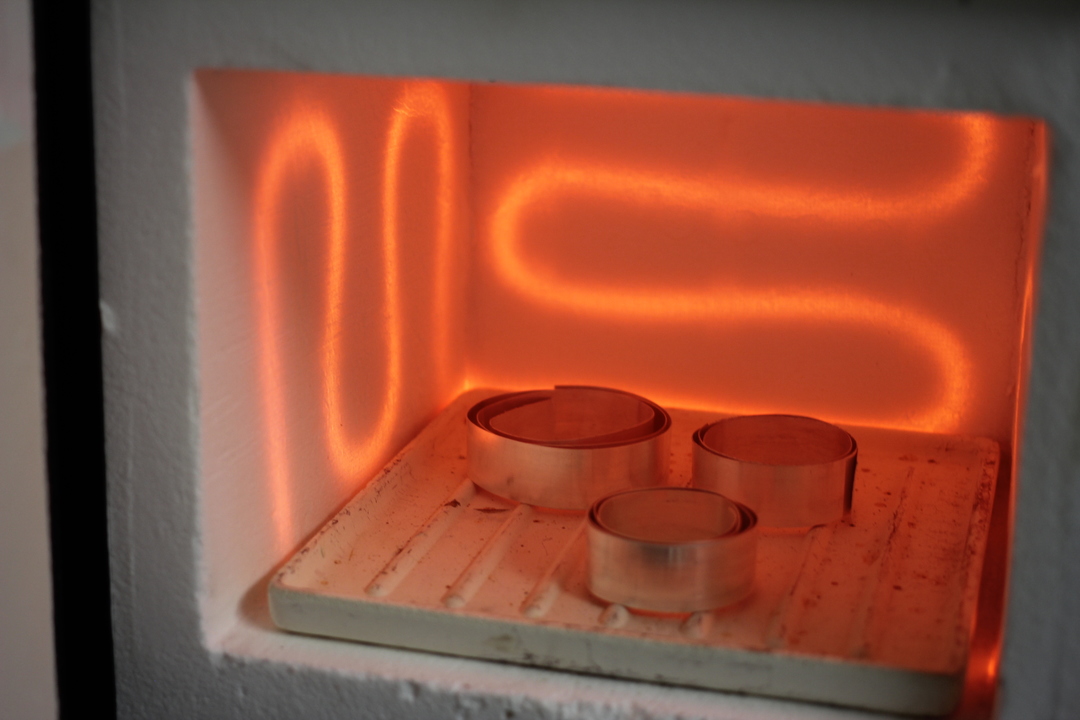
Step 3: Melting the Gold or Silver
We insert the raw gold or silver into an oven, where they are melted at their respective melting temperatures. They are inserted inside a crucible that glows bright orange from the intense heat. This is what allows us to insert and remove the melted gold and silver metals.
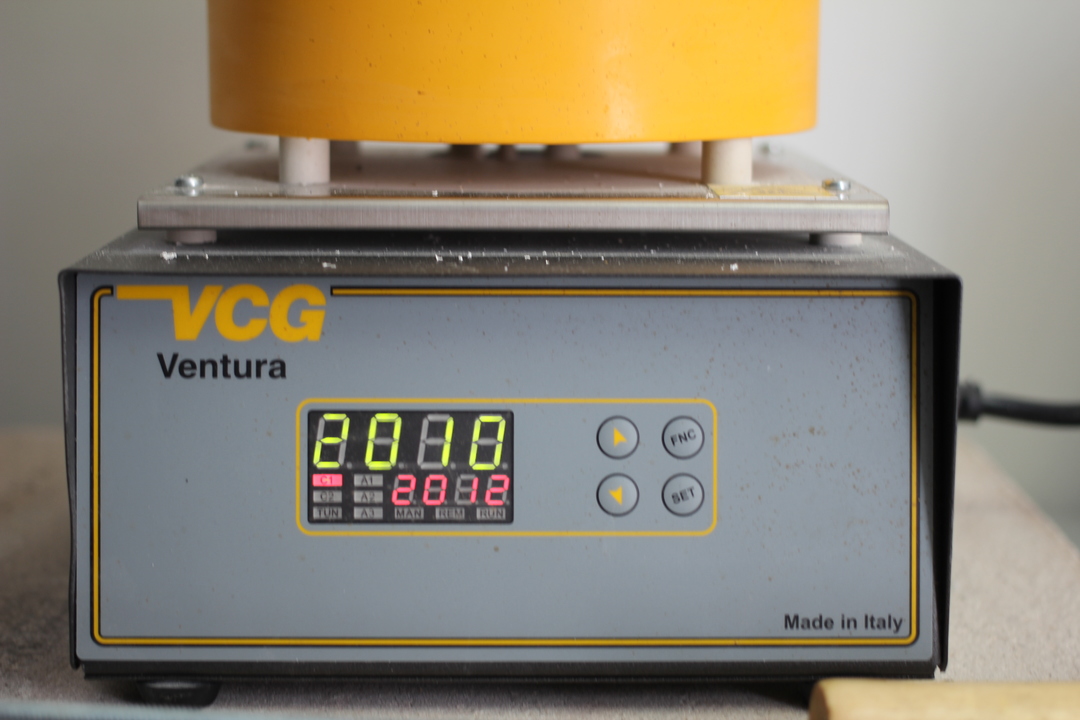
Step 4: Temperature Maintenance
Close maintenance of the internal temperatures is maintained so that the metals are melted at an efficient rate.

Step 5: Removal of Melted Metals
The melted gold or silver is removed from the oven once completely melted.
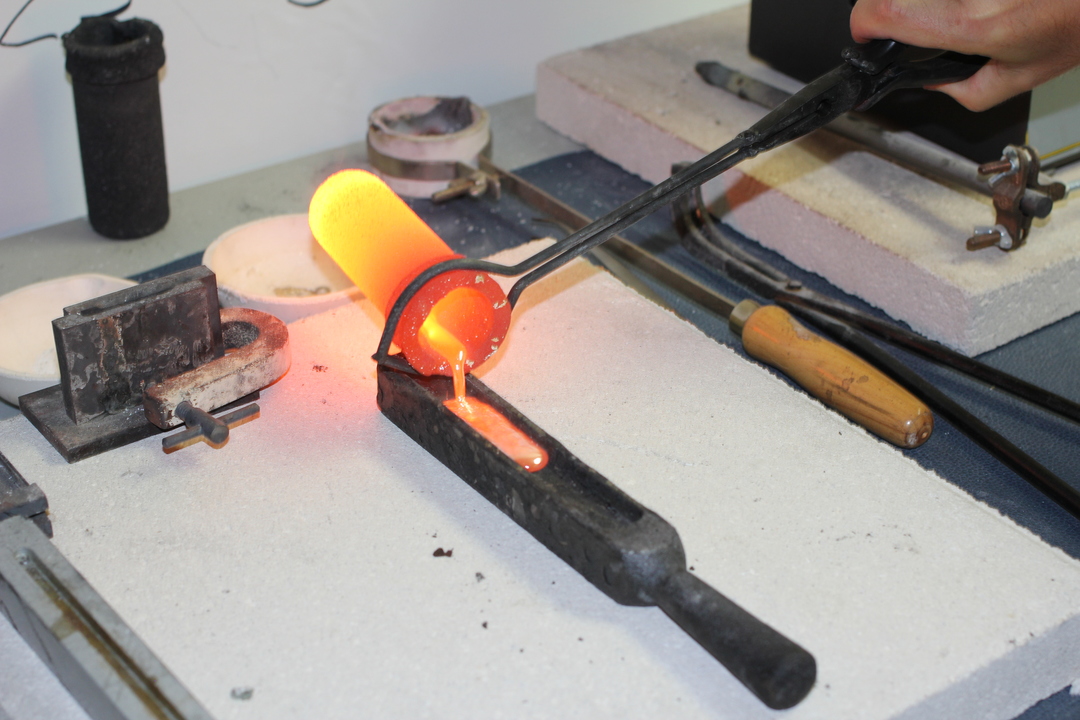
Step 6: Pouring a Pure Bar of Gold or Silver
The melted gold or silver is then poured into a mould to be shaped into a bar. This allows for easy handling throughout our process.
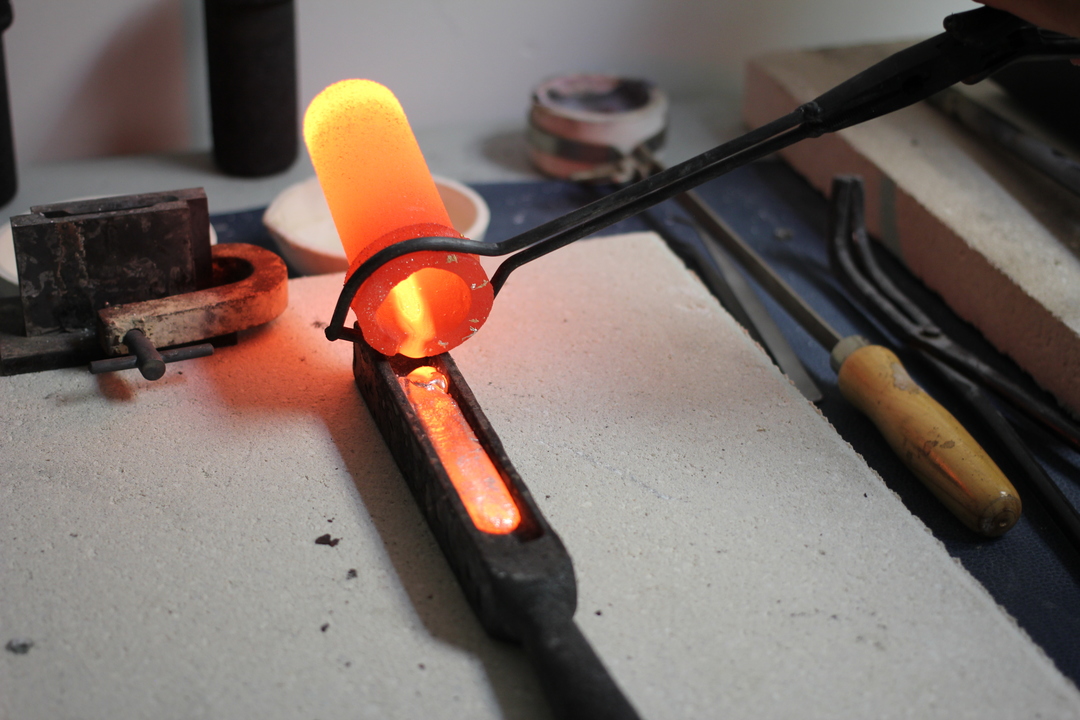
Step 7: Cooling and Solidification
Once the gold or silver has been poured into the mold, it must be cooled for handling.
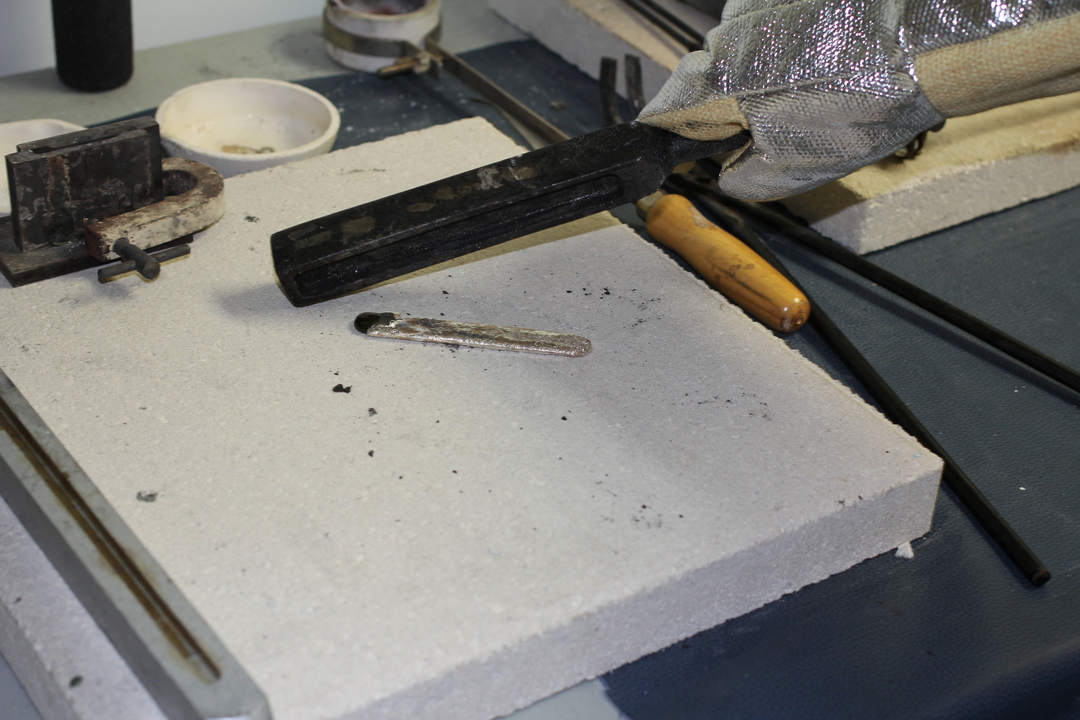
Step 8: Removing the Solid Gold or Silver Bar
Once the bar has been cooled sufficiently, it is removed from the mold, and is ready for the next part of our process.
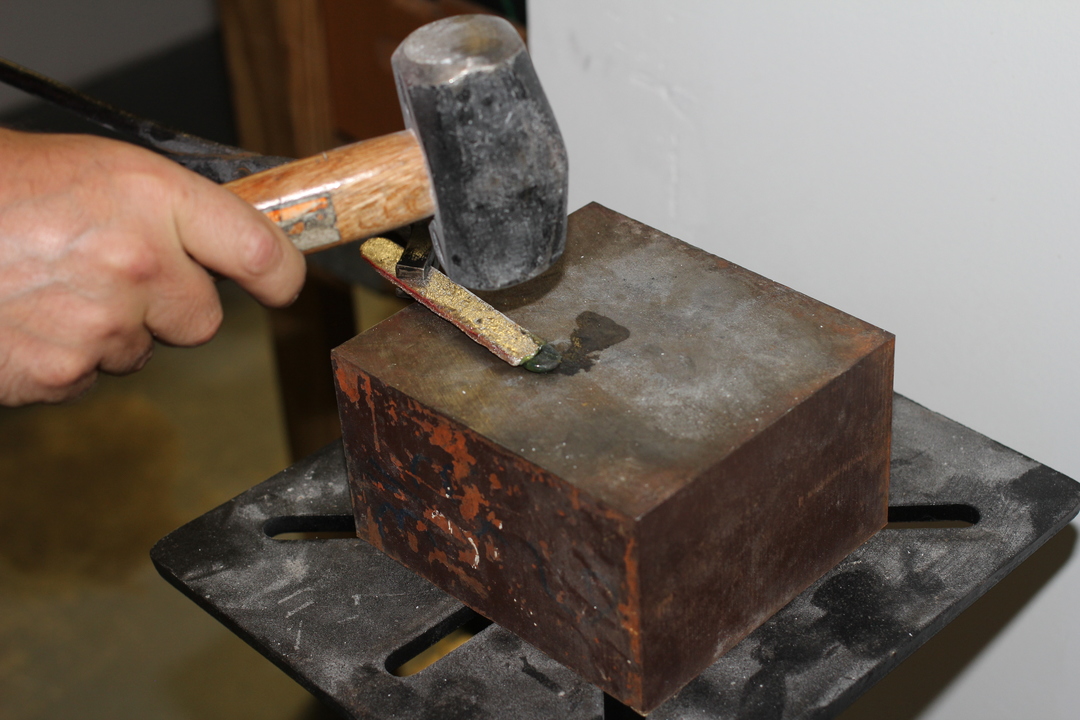
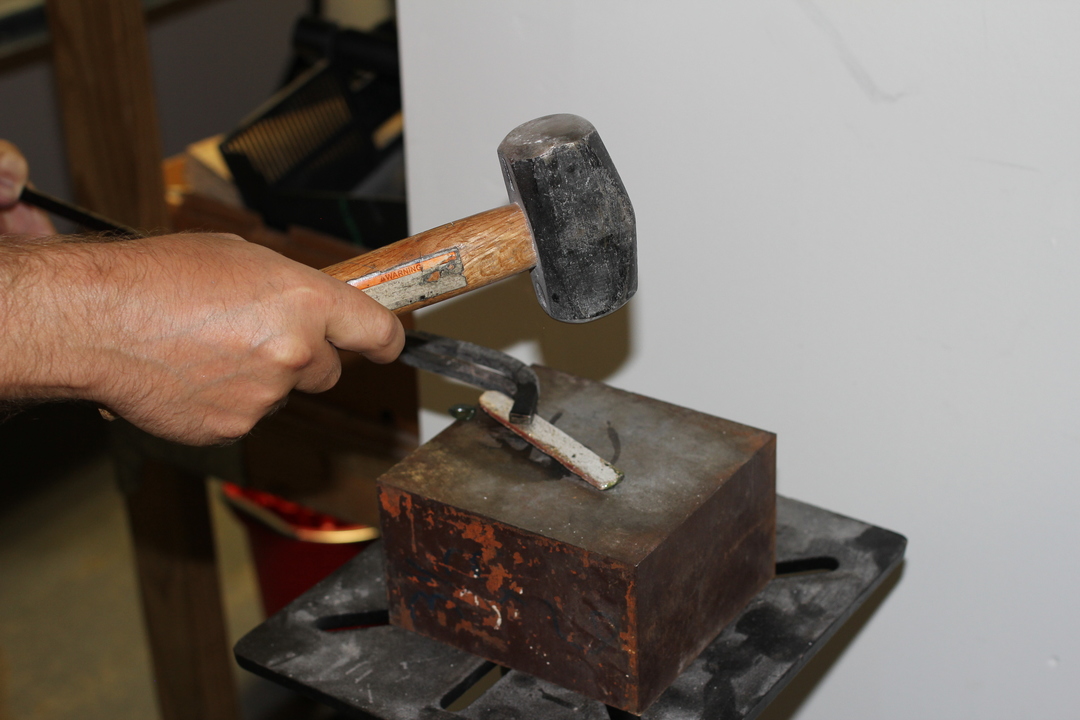
Step 9: Hammering of the Bar
Any inconsistencies in the shape of the bar are hammered out so that it can efficiently be handled.
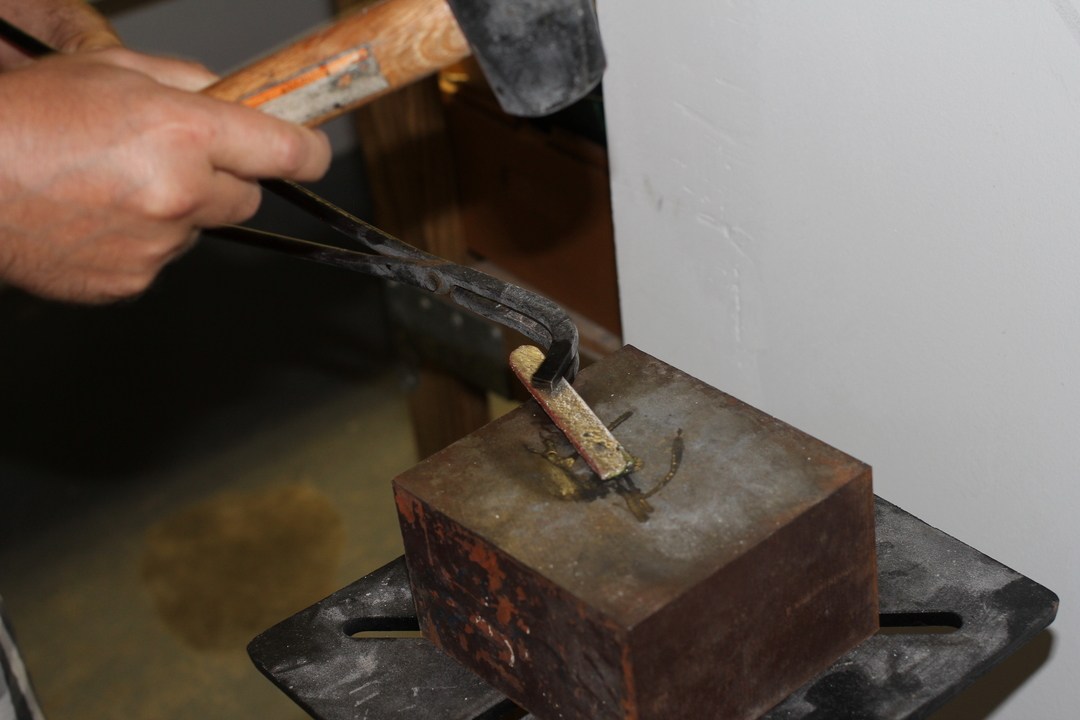
Step 10: Hammering of the Bar Continues
It is necessary for the bar to be consistent and solid. Any possible flaws are beaten out so as not to hinder further processing.
Step 11: Completion of Hammering
Once the bar is thick, solid, and tight, it is considered ready for the next step of the process.
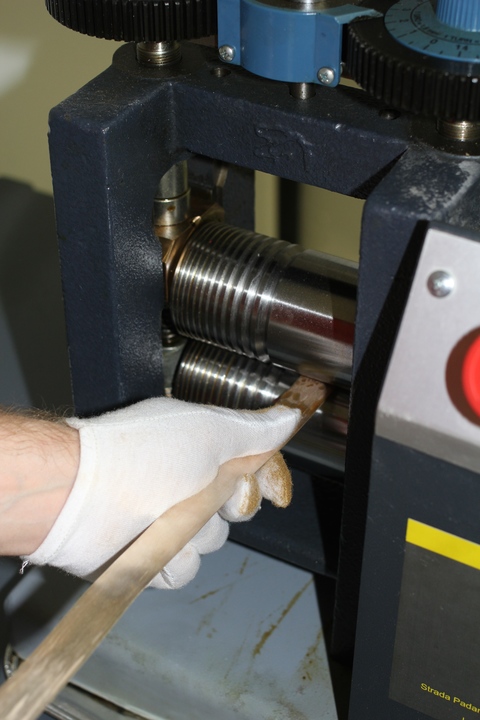
Step 12: Rolling the Bar
This process is repeated until the bar has reached a consistent thickness that can be processed further.

Step 13: Further Rolling the Bar
This process is repeated until the bar has reached a consistent thickness that can be processed further.

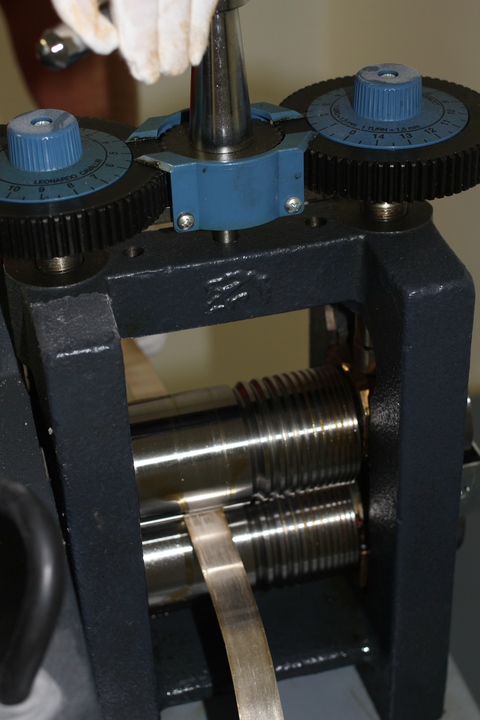
Step 14: Completing the Rolling Process
Once the gold or silver bar has completed its processing within the rolling mill, it is a magnitude thinner than when it first began as a bar.
Step 15: Removal from the Rolling Mill
The bar is now thin and ready for further processing. It must be removed from the mill with care so as not to break.
Step 16: Metal Heating
The thinned gold or silver metal is now heated so as to allow it to be cut and formed into the necessary sizes for further processing.
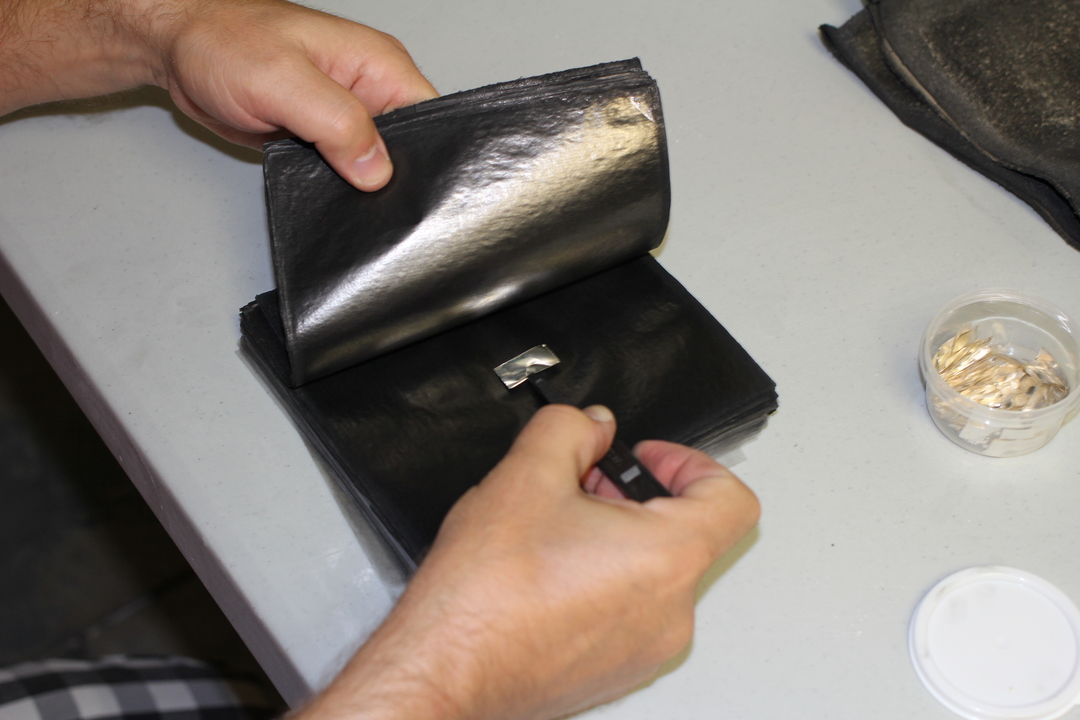
Step 17: Preparing the Gold or Silver for Beating
After the metal is sufficiently softened, it is cut up into small squares of 1inch, and inserted into a stack of beating paper.
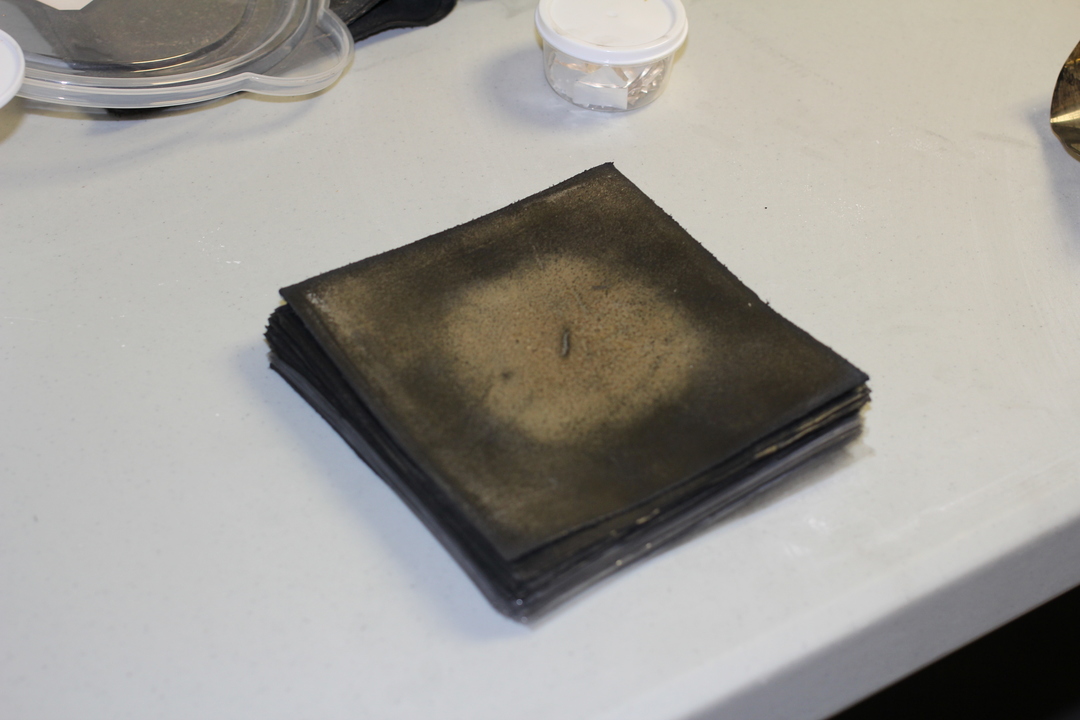
Step 18: Completing the Stack
A full stack of gold or silver reading for beating contains 250 squares of gold or silver sandwiched between individual sheets.
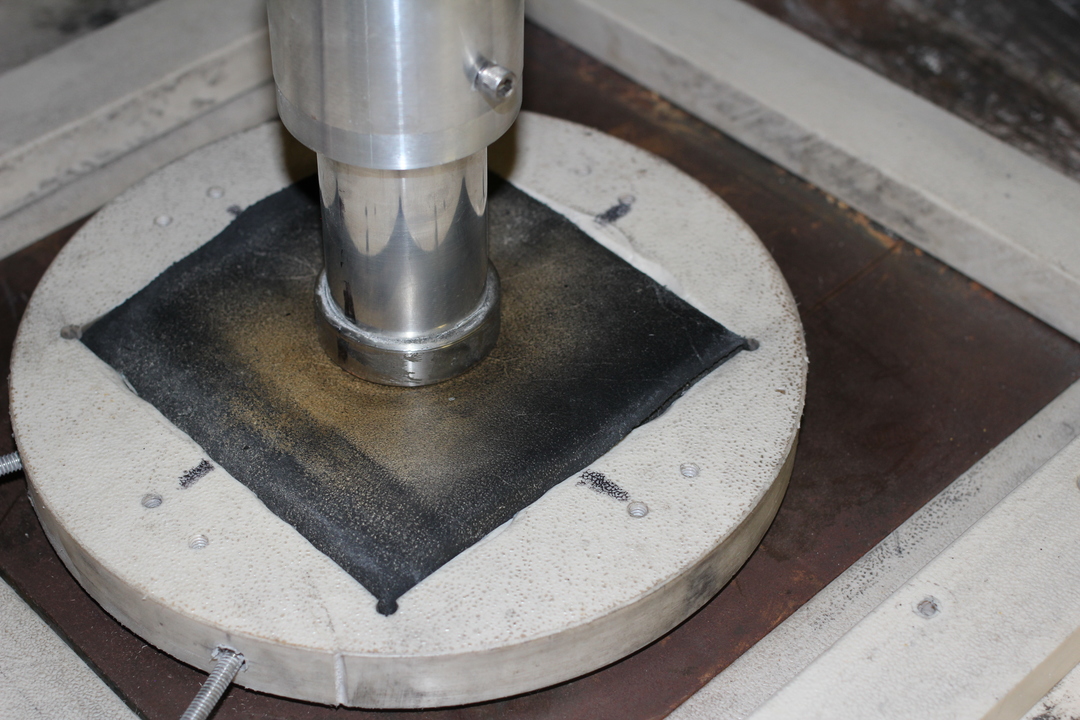
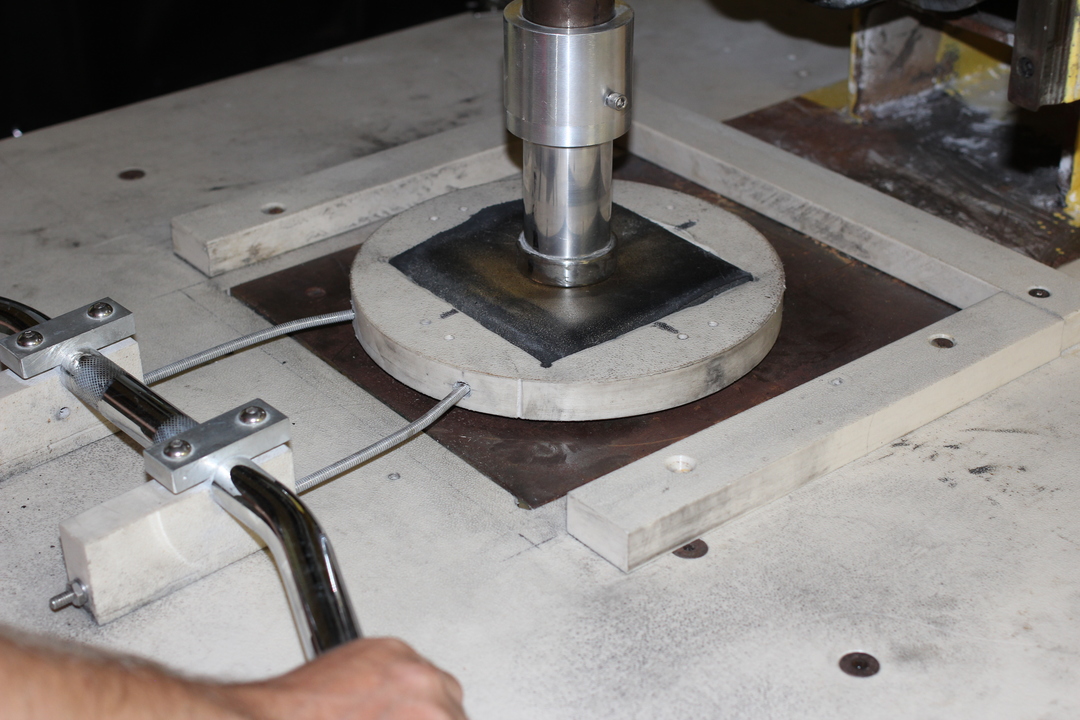
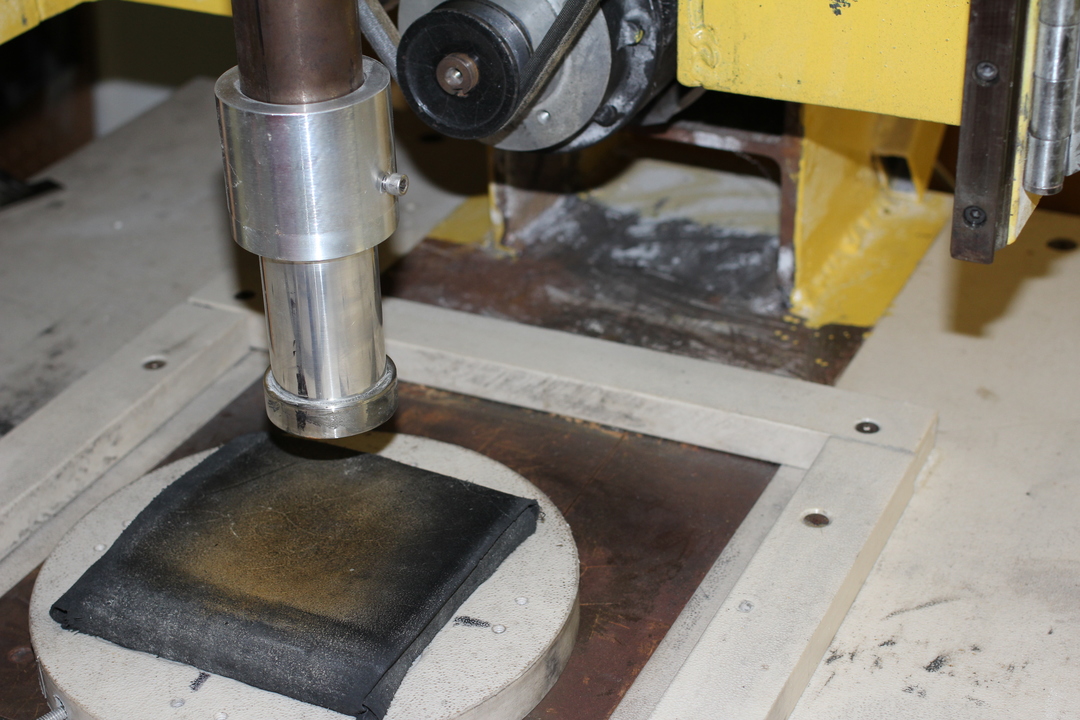
Step: 19 Hammering of the Pouch
After the stack is completed, it is inserted into a pouch so as to maintain form during the beating process. A mechanical hammer is used to beat the metals.
Step 20: Beating Completed
After the first beating is completed, the gold or silver squares of 1inch have now grown to roughly four times their original size, and much thinner.
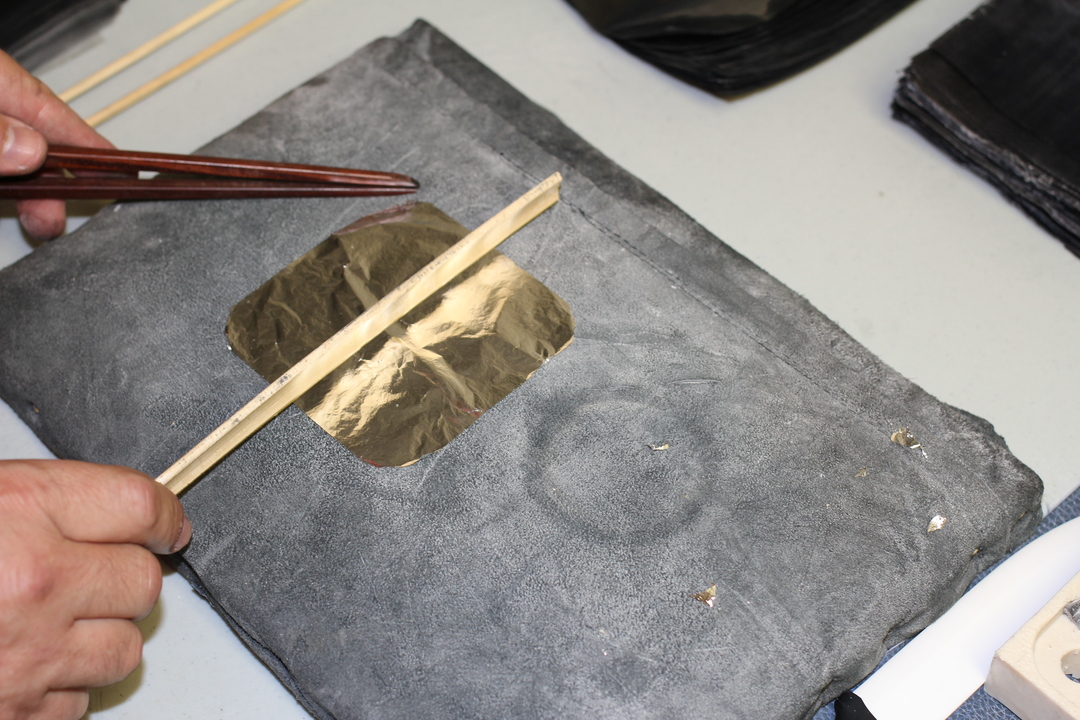
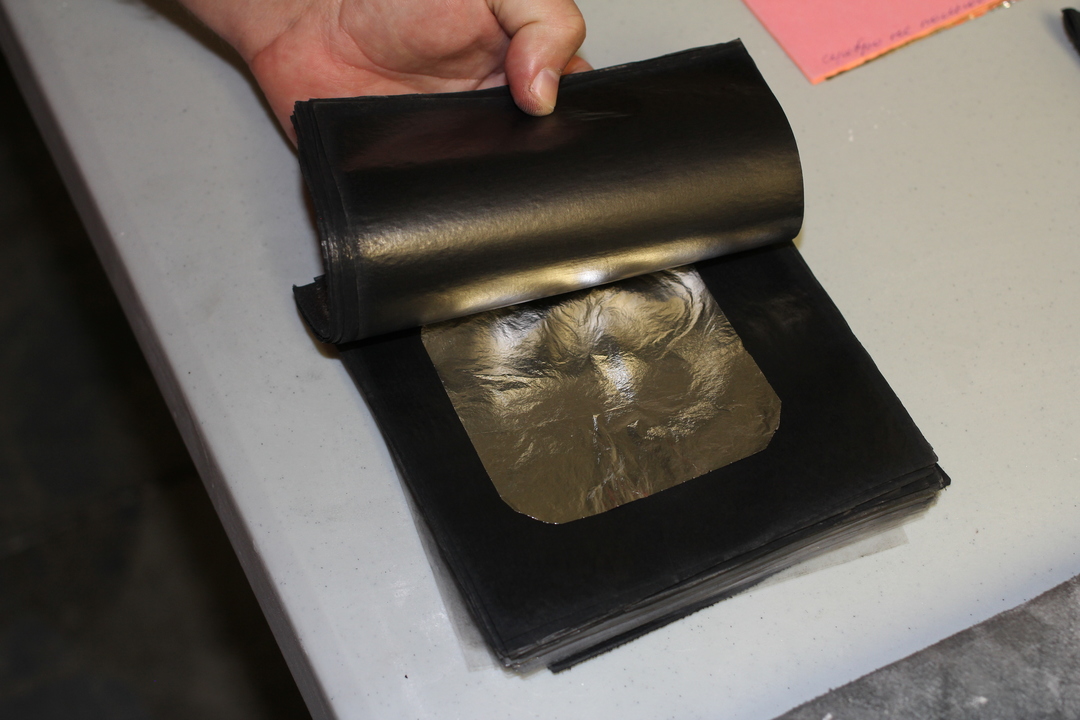
Step 21: Cutting the Gold or Silver Leaf
The now thinner gold or silver leaf is cut into squares further so as to allow expansion during further beating. This process is done using a bamboo knife as conventional equipment would cause the now extremely fine metal sheet to cling to the knife.
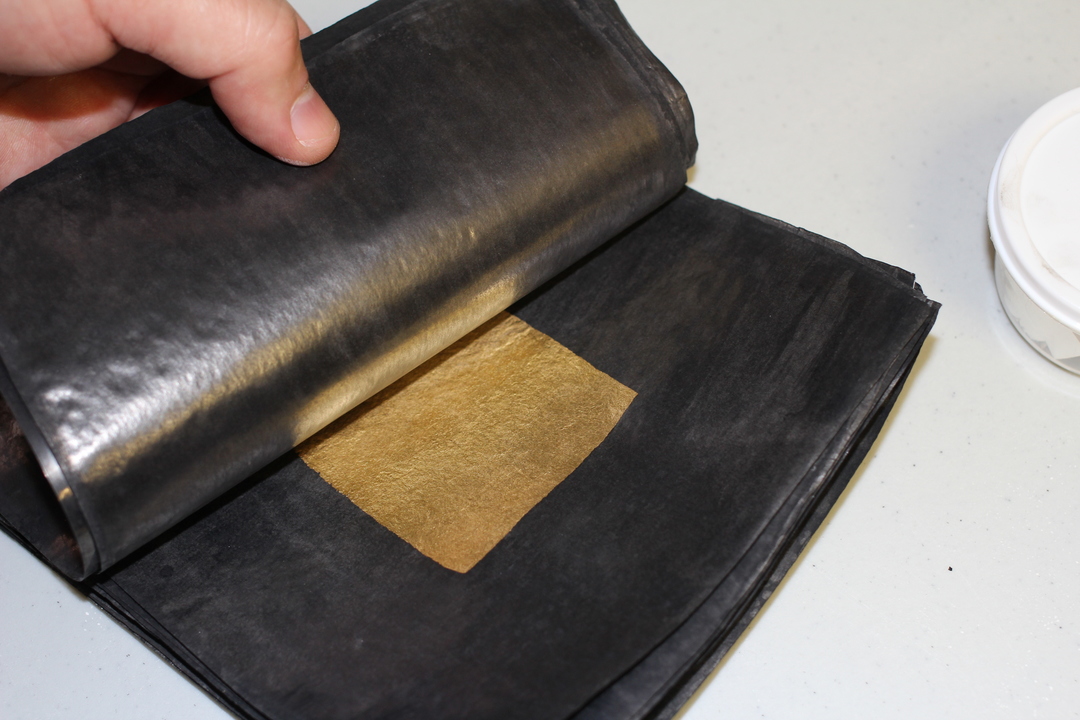
Step 22: Preparation for Second Beating
Once the silver or gold leaf is cut further, it is re-inserted into another pack of beating paper in preparation for further hammering.
Step 23: More Hammering Begins
Once the silver or gold leaf is cut further, it is re-inserted into another pack of beating paper in preparation for further hammering.
Step 24: Further Hammering Until Completion
The sheets are hammered until their desired thickness, being checked throughout the process for any inconsistencies. The analog process is the only way to ensure uniform thinness and structural integrity.
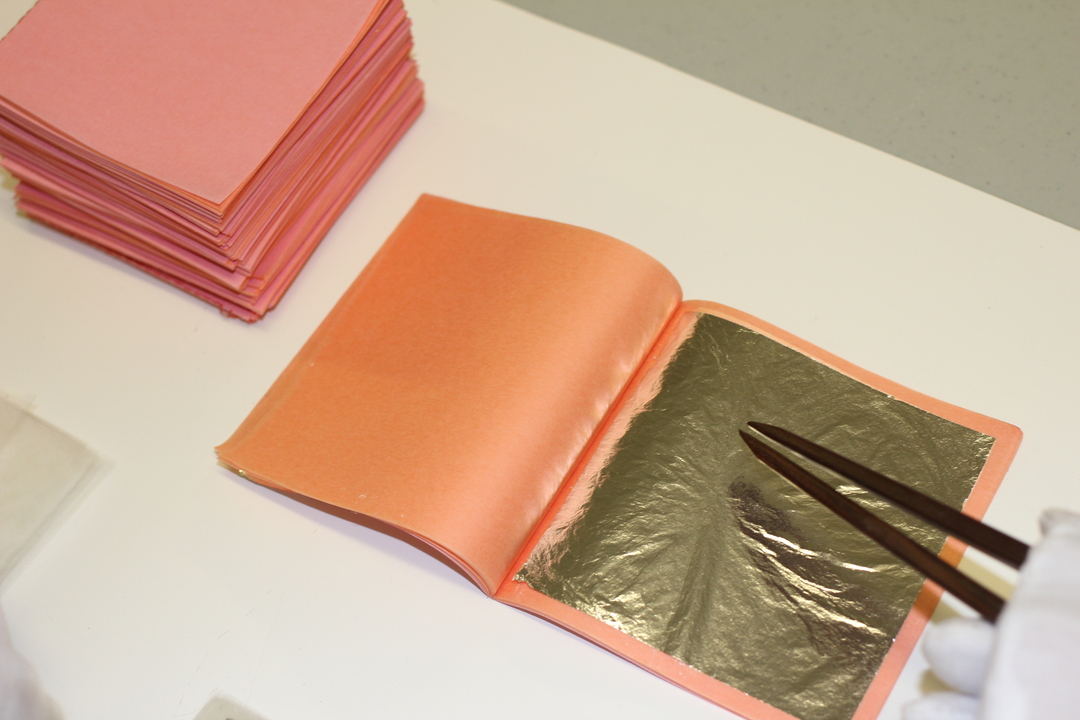
Step 25: Final Packaging
Once the gold leaf, or silver leaf reaches the necessary sizes for usage, it is cut into squares of 3, 3/8 inches, and packaged in booklets of rouge paper, making a single booklet contain 25 of such sheets. And that concludes how edible gold leaf is made in our factory.